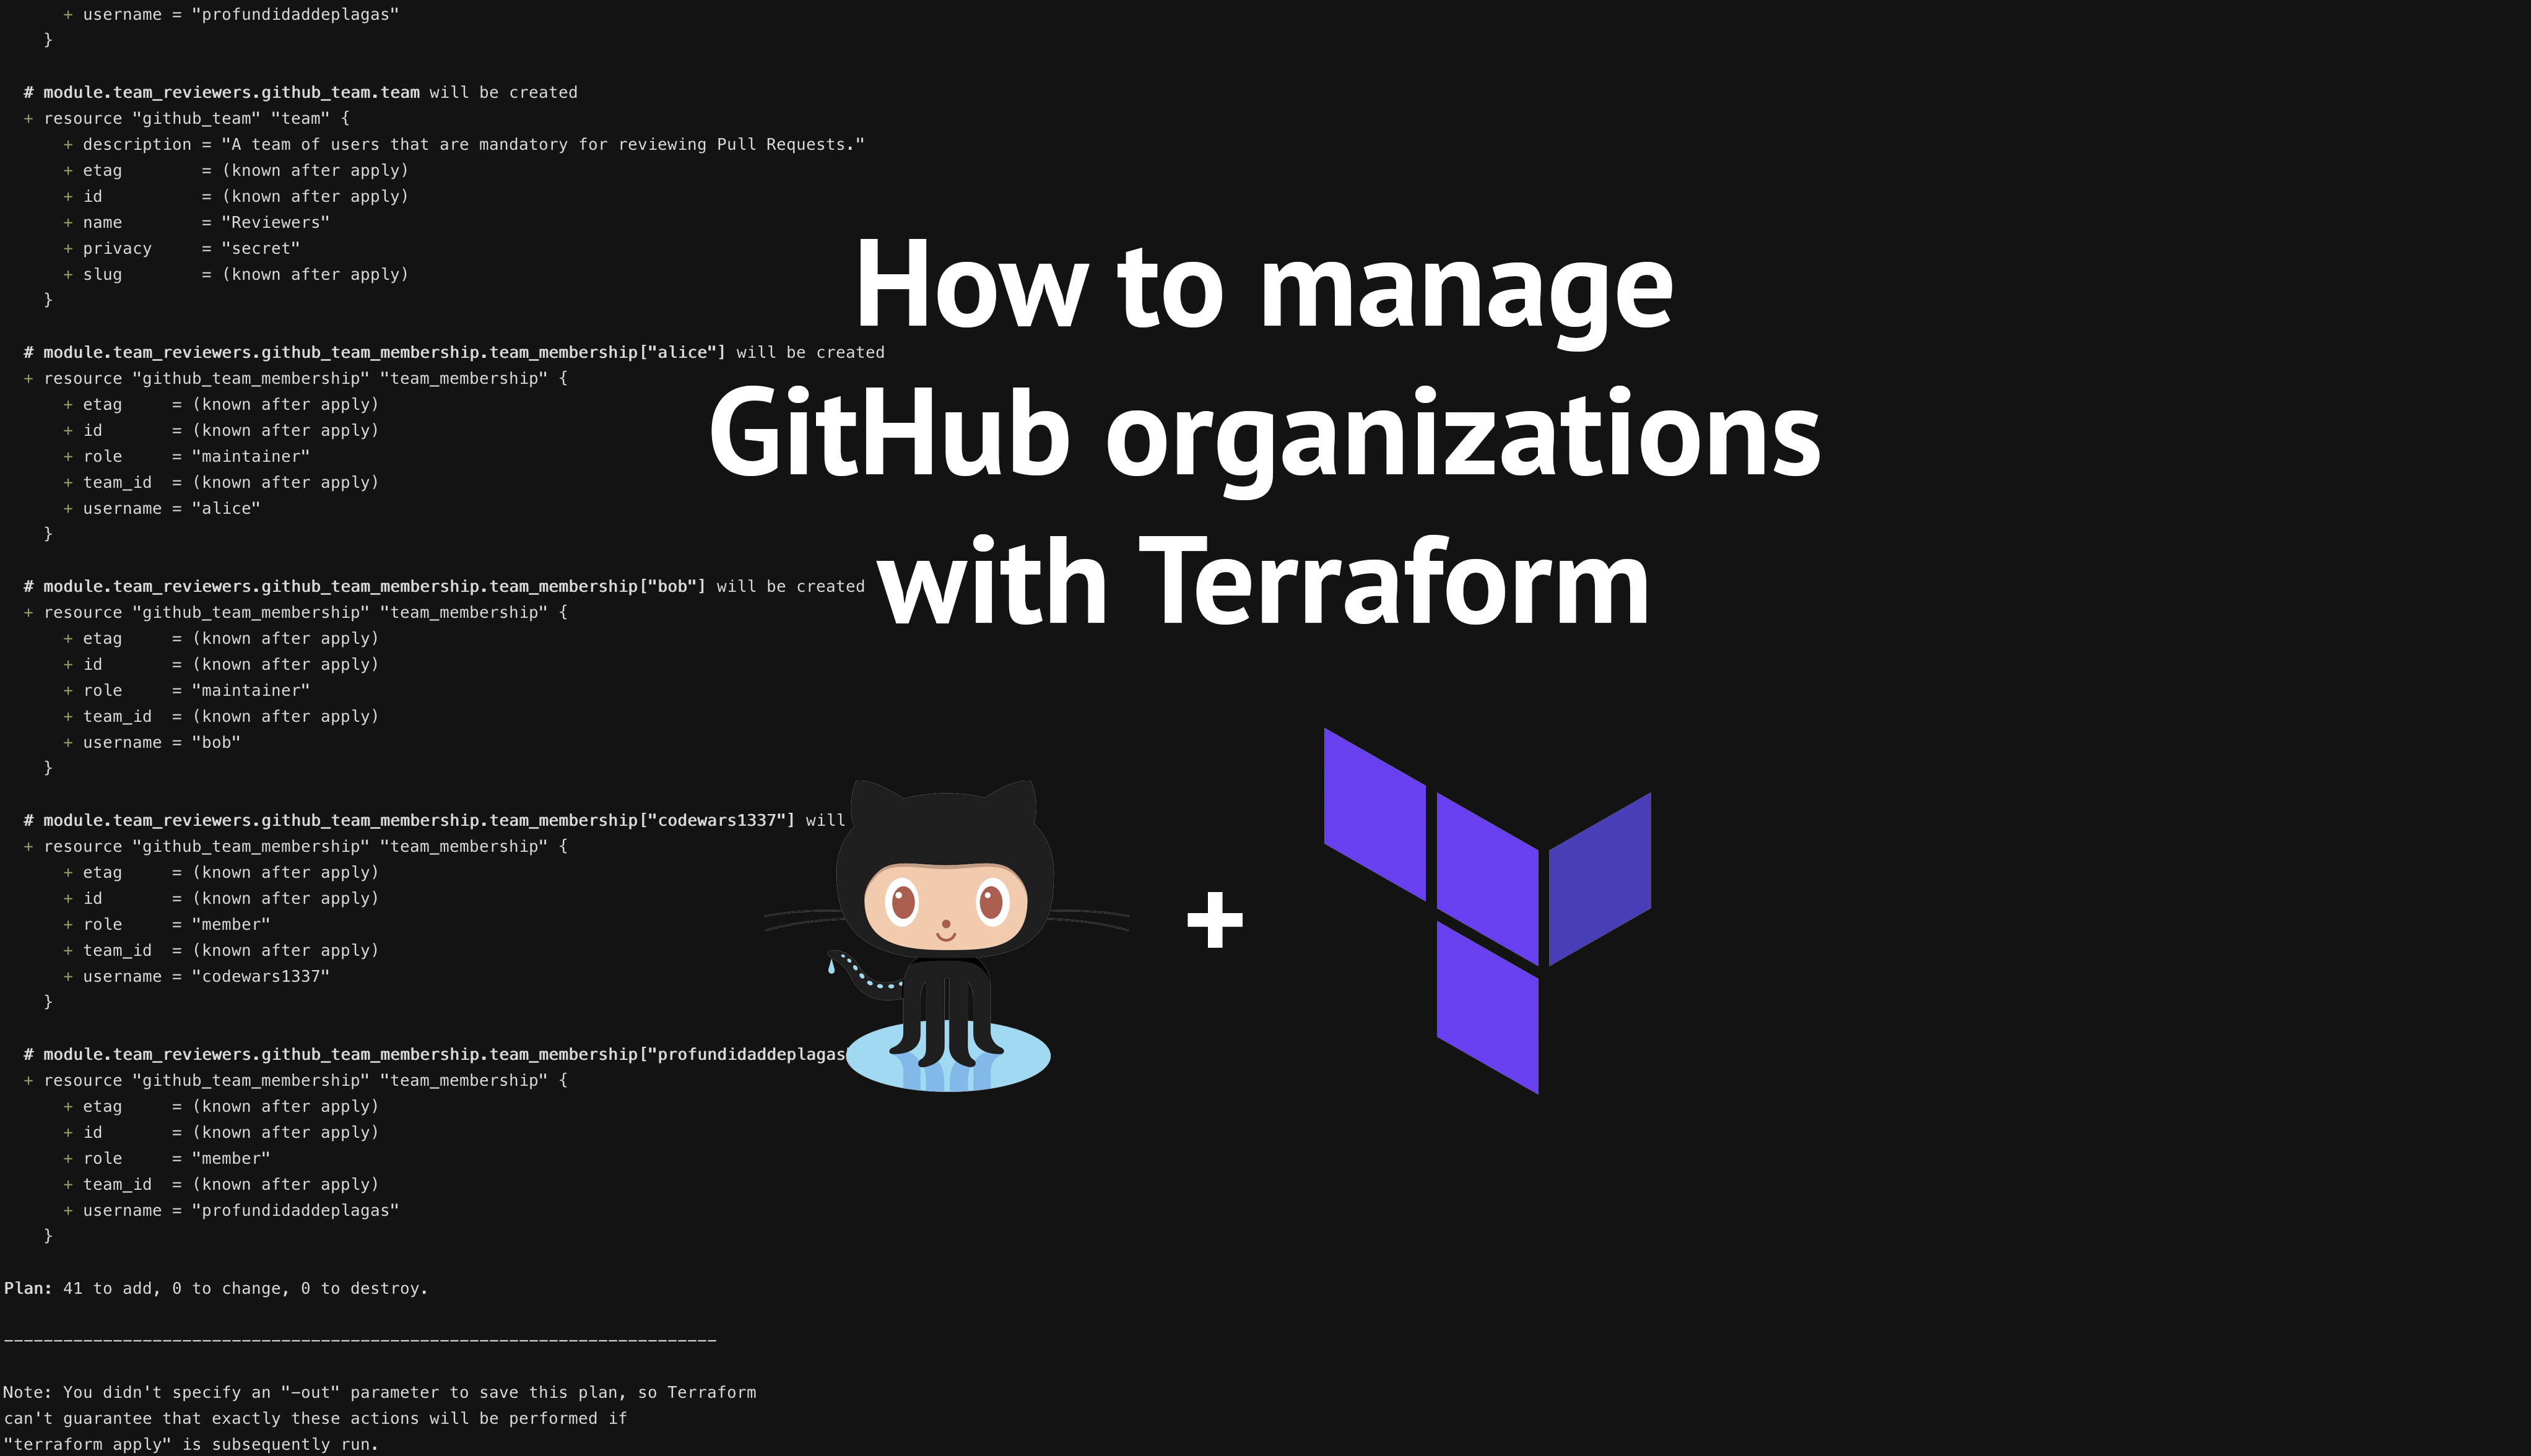
How to manage your GitHub Organization with Terraform
GitHub is the most popular platform for software development version control using Git. In our day to day business, we work for a broad set of organizations, from small startups to big enterprises. One thing we've been observing across all possible stages and sizes of companies is, that managing a GitHub organization efficiently is a challenge.
This is the first part of our series "How to manage your GitHub Organization with Terraform".
In this article, we will explain how we manage our and our customer's GitHub organizations through code with Terraform.
Here is a brief overview of what we will cover:
- Terraform and the GitHub provider
- Manage your organization and repositories with Terraform
- Keep your code DRY with modules
- Conclusion
Terraform and the GitHub provider
Terraform is a tool for building, changing, and versioning infrastructure safely and efficiently. With Terraform you can write Infrastructure as Code (IaC) and describe your infrastructure with a high-level, declarative syntax.
In this article, we will assume that you are familiar with the Terraform basics. If you are just getting started, we advise you to read the official introduction to Terraform.
The GitHub Provider is a Terraform wrapper around the GitHub API and, by the time of writing, allows us to manage the following resources:
- Organizations (memberships, blocked users, issue labels, projects, webhooks)
- Repositories (collaborators, branch protection rules, deploy keys, projects, webhooks)
- Teams (memberships, repositories)
- Users (SSH keys, invitations)
Note: Due to provider limitations, we can’t create organizations using Terraform. To create a new organization please follow this guide.
Manage your organization and repositories with Terraform
Let's get started. We assume that you have Terraform installed locally and your GitHub organization created. For the sake of simplicity, we will focus on managing a plain organization for now but we will point out how to migrate existing organizations later in this article.
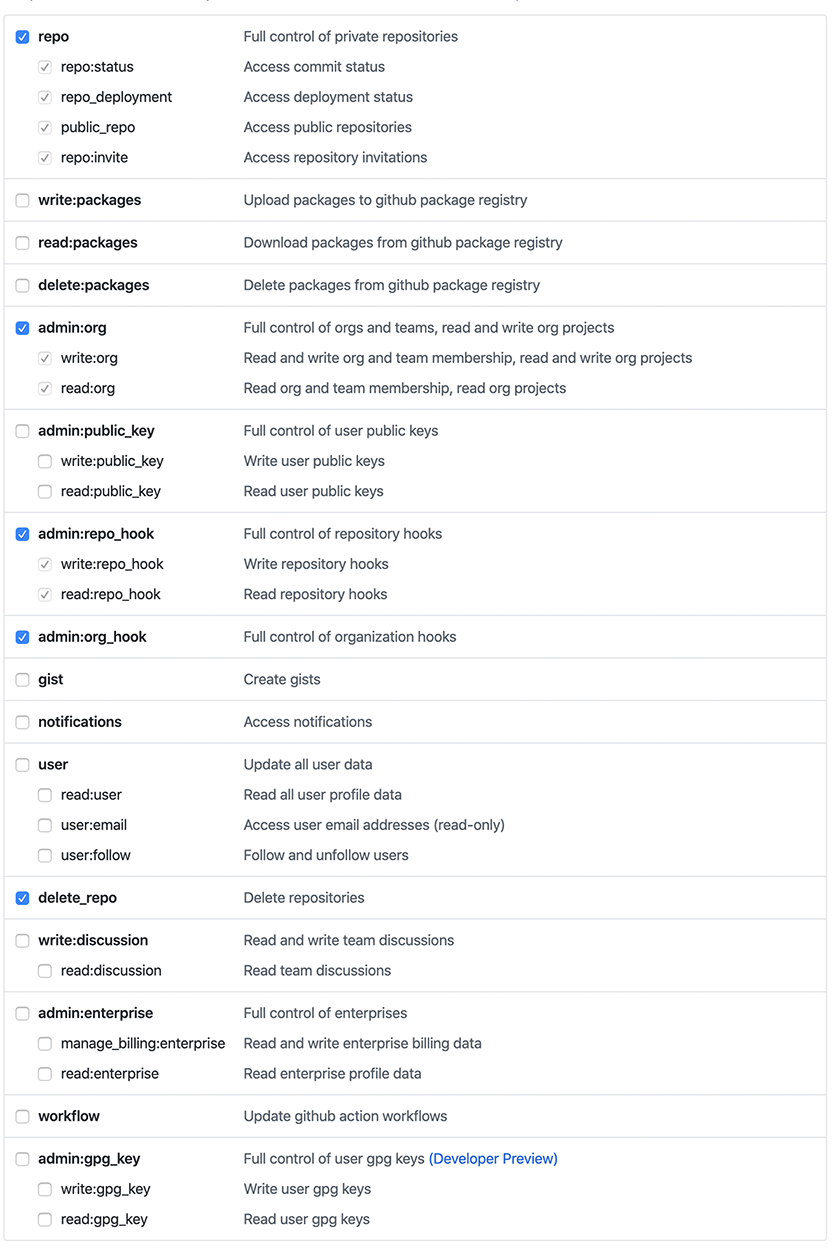
To be able to communicate with the GitHub API, we need to issue a personal access token. If you haven't issued one yet, please follow this guide to create a new one.
For personal accounts, we recommend using the permissions setup shown below. However, if you'd like to use the token
inside your CI (e.g. for a machine user ), we recommend you for the sake of security to issue a token that comes without
the permission to delete repositories.
Once you have your organization and access token in place, you can continue to configure the provider and take a look at some sample code.
The code below is responsible for the following tasks:
- Configure the GitHub provider to manage your organization
- Add the GitHub user
a-github-userto the organization. - Create a repository
a-test-repositoryinside your organization and configure a branch protection rule
It makes sense to replace the placeholders a-github-user and a-test-repository with your desired inputs.
main.tf
# Configure the provider
provider github {
  organization = "a-github-organization"
  version      = "~> 2.1"
}

# Add a user to the organization
resource "github_membership" "member" {
  username = "a-github-user"
  role     = "member"
}

# Add a repository
resource "github_repository" "repository" {
  name        = "a-test-repository"
  description = "This repository only exists for testing purposes."
  private     = false

  allow_merge_commit = true

  auto_init          = true
  gitignore_template = "Terraform"
  license_template   = "mit"
}

# Configure a branch protection for the repository
resource "github_branch_protection" "repository" {
  repository     = github_repository.repository.name
  branch         = "master"
  enforce_admins = true

  required_status_checks {
    strict   = false
    contexts = ["ci/travis"]
  }

  required_pull_request_reviews {
    dismiss_stale_reviews = true
    dismissal_users       = [github_membership.member.username]
  }

  restrictions {
    users = [github_membership.member.username]
  }
}
To be able to run the code, you need to set your personal access token as a
"token" param on the provider github section, but
I strongly suggest setting a GITHUB_TOKEN environment variable instead ( e.g. export GITHUB_TOKEN=YOUR_TOKEN,
which is read by the provider directly.
Passing the token as an environment variable avoids Terraform storing it unencrypted on disk when saving a plan output file and is therefore recommended.
To initialize your Terraform environment, you need to run terraform init.
With terraform plan you can create an execution plan that you should review before applying any changes to your
organization. Terraform will ask you for the name of the organization you'd like to manage.

It's important to review any changes before applying them to your organization.
A common mistake we see quite often is to run terraform plan and terraform apply without checking the plan of
terraform apply. Actually, terraform apply checks the differences between the state Terraform keeps in the
configured backend and the deployed infrastructure once again and will ask you to continue before the changes will be
deployed.
In some environments, especially when multiple people or machines may deploy the same resources, it's mandatory to
run terraform apply on a previously created and reviewed plan. This can be achieved by running passing a previously
generated planfile to the apply command (e.g. terraform plan -out=tfplan and terraform apply tfplan).
Let's run terraform apply to create the desired resources.

That's it! You can easily take it from here and add more members, repositories and even take a look at the team resource.
Keep your code DRY with modules
Using the sample code we discussed in the previous section is a great starting point but nothing solid if you would like to manage an organization that has dozens or even hundreds of repositories, members and teams. In a real-world scenario, quite often you would apply the same or similar settings to a set of repositories. We use modules in our GitHub code to set some standards among our resources and to make some configurations easier or more compact.
We recently open-sourced some Terraform 0.12 modules to simplify managing GitHub through code:
If you'd like to read more about modules in Terraform, we recommend this guide.
How to manage your organization with modules
Let's start writing our organization as code with a more sophisticated approach using modules.
GitHub requires you to add a new member either as a member or as an admin.
Also, quite often GitHub users choose usernames that aren't expressive. To keep an overview of which account
belongs to whom, it's a good practice to map the email addresses of your colleagues to their GitHub usernames.
Since we normally reference each user in multiple resources, it's a more convenient way to use the user's
email address instead of the username.
Let's create the file organization.tf with the following content.
organization.tf
locals {

  # A map of admin machine users. These users are used for tasks such like CI & CD, releasing, etc.
  admin_machine_users = {
  }

  # A map of GitHub users that should have admin permissions
  admin_users = {
    "alice@acme.com" = "alice"
    "bob@acme.com"   = "bob"
  }

  # A map of member machine users. These users are used by automation processes such as cloning repositories
  member_machine_users = {
    "ciuser@acme.com" = "acme-ci"
  }

  # A map of GitHub users that should have member permissions
  member_users = {
    "stephe@acme.com" = "cOdewars1337",
    "angela@acme.com" = "profundidaddeplagas",
    "jenz@acme.com"   = "jenzcancode",
  }

  # We merge the maps of members and admins and pass them as arguments to the module
  members = merge(
    local.member_machine_users,
    local.member_users
  )

  admins = merge(
    local.admin_machine_users,
    local.admin_users
  )
}

module "organization" {
  source  = "mineiros-io/organization/github"
  version = "0.1.0"

  admins  = values(local.admins)
  members = values(local.members)
}
The code in organization.tf defines the user groups admin_machine_users, member_machine_users, admin_users and
member_users. Typical use cases for machine users are automated tasks such as checking out a repository in your
CI / CD Pipelines. We will discuss more on that later.
Also, we again need to configure the GitHub provider to make our code working.
Please create a file main.tf with the following content.
provider.tf
provider "github" {
  version      = "~> 2.1"
  organization = "the-name-of-your-organization"
}
After replacing the example values with your data, you should be able to deploy the changes to your organization.
Note: Our open source modules use for, for-each and dynamic nested blocks that were introduced in Terraform 0.12. A common problem in Terraform configurations previously to version 0.12 is dealing with situations where the number of values or resources is decided by a dynamic expression rather than a fixed count. You can now dynamically add and remove items from and to Lists without the necessity to render the whole list of resources again. Terraform will only add and remove the items you want it to.
Feel free to play around with the organization.tf. You can add and remove members dynamically and even cluster the
members into more specific groups.
How to manage your teams with modules
After adding all members to your repository, you should set up your team structure. For the sake of simplicity we will only deal with two teams in our examples, but feel free to add as many teams as you like.
Let's create a file teams.tf with the following code.
teams.tf
module "team_reviewers" {
  source  = "mineiros-io/team/github"
  version = "0.1.2"

  name        = "Reviewers"
  description = "A team of users that are mandatory for reviewing Pull Requests."
  privacy     = "secret"

  members = [
    local.member_users["stephe@acme.com"],
    local.member_users["angela@acme.com"]
  ]

  maintainers = values(local.admin_users)
}

module "team_contributors" {
  source  = "mineiros-io/team/github"
  version = "0.1.2"

  name        = "Contributors"
  description = "A team of users that have the permission to contribute to repositories that are assigned to the team."
  privacy     = "secret"

  members = [
    local.member_users["stephe@acme.com"],
    local.member_users["angela@acme.com"],
    local.member_users["jenz@acme.com"]
  ]

  maintainers = values(local.admin_users)
}
Running terraform apply deploys two teams into your organization and adds the desired members. Now let's take a look
at repositories, the most important resources of your organization.
How to manage your repositories with modules
Quite often repositories share the same or a similar set of settings. Since we would like to keep our configuration as
DRY as it is possible with Terraform, let's create some default settings that we can apply to each new repository.
It's usually a good starting point to create some default settings for private as well as public
repositories.
Let's create a file repositories.tf with the following content.
repositories.tf
locals {
  # default settings for private repositories
  private_defaults = {
    private            = true
    has_issues         = true
    allow_merge_commit = true

    topics = [
      "iac",
      "terraform",
      "terraform-modules",
    ]
  }

  # default settings for public repositories ( merge with private default settings )
  public_defaults = merge(local.private_defaults, {
    private          = false
    license_template = "apache-2.0"
  })

  default_branch_protections = [
    {
      branch         = "master"
      enforce_admins = false

      required_status_checks = {
        strict = true
      }

      required_pull_request_reviews = {
        dismiss_stale_reviews           = true
        require_code_owner_reviews      = true
        required_approving_review_count = length(module.team_reviewers.team_memberships)
        dismissal_teams                 = [module.team_contributors.slug]
      }
    }
  ]
}
If you create a repository with our terraform-github-repository module you should be aware, that the module is opinionated and comes with a default set of options. For details please read the documentation of the module.
Now that we have our default settings in place, let's add some repositories to the repositories.tf.
repositories.tf
module "public_repository" {

  source  = "mineiros-io/repository/github"
  version = "~> 0.1.0"

  name               = "public-repository"
  homepage_url       = "https://medium.com/mineiros"
  description        = "A test repository create for demonstration purpose for the How to manage your GitHub Organization with Terraform article."
  defaults           = local.public_defaults
  branch_protections = local.default_branch_protections
  license_template   = "apache-2.0"
  gitignore_template = "Terraform"

  push_team_ids = [module.team_contributors.id]

  extra_topics = [
    "integrationtest",
    "terraform"
  ]
}

module "private_repository" {
  source  = "mineiros-io/repository/github"
  version = "~> 0.1.0"

  name               = "terraform-aws-cloudfront"
  homepage_url       = "https://medium.com/mineiros"
  description        = "A test repository create for demonstration purpose for the How to manage your GitHub Organization with Terraform article."
  defaults           = local.private_defaults
  branch_protections = local.default_branch_protections
  license_template   = "apache-2.0"
  gitignore_template = "Terraform"

  push_team_ids = [module.team_contributors.id]

  extra_topics = [
    "anothertestrepository",
    "terraform"
  ]
}
That's it! We successfully defined our GitHub Organization as Code. From here you can easily add your members, teams, and repositories. Our modules offer a broad set of options. We recommend you to read the documentation for each module.
Import existing resources
Terraform is able to import existing infrastructure. This allows you to take resources you've created by some other means and bring it under Terraform management. This is especially helpful if you'd like to manage a GitHub organization with existing resources through code.
Let's assume you have an existing repository i-love-teraform. To import the existing repository into your state, you
need to create the resource as code first. Let's import an existing repository as an example.
repositories.tf
module "repository" {
  source  = "mineiros-io/repository/github"
  version = "~> 0.1.0"

  name    = "i-love-teraform"
}
Once you finished writing the code, you can run the command
terraform import module.repository.github_repository.repository "i-love-terraform".
Note: The current implementation of terraform import can only import resources into the state.
It does not generate configuration. A future version of Terraform will also generate configuration.
The above import is considered a "simple import": one resource is imported into the state file. An import may also result in a "complex import" where multiple resources are imported. For example, a repository most like also has a branch protection rule associated with it.
In this scenario, the secondary resources will not already exist in the configuration, so it is necessary to consult the import output and create a resource block in the configuration for each secondary resource. If this is not done, Terraform will plan to destroy the imported objects on the next run.
If you want to rename or otherwise move the imported resources, you should give the state management commands a try.
Conclusion
In this article, you learned how to manage your GitHub infrastructure as code. You also learned how to keep your code DRY with Terraform modules. Also, you can find the final example on GitHub. Feel free to fork this repository and use it as a starting point for your own organization.
In the next part of this series, you will learn how to automate the terraform plan and apply commands inside your CI
and how to deploy changes following the GitHub flow.
Article last updated: 7/5/2021, 9:40:30 AM